Donations Appreciated

Friday, February 17, 2017

February 17 - Pouring the Floor, Part 1

Planning
Thursday evenings are when the crew leads and their assistants get together to plan the next week's activities.  This meeting, however, on the day before The Big Floor Pour, focused on the next day's activity: pouring the concrete floor.  That's Glen in the camo jacket, Brian on his left, Mark to his left (can't see him), then Phil, Ken, and Bob.


The Big Floor Pour has been in the planning stages for over a month.  A special crew of volunteers who can be there all day on a Friday have been organized.  Concrete specialists have been recruited.  Concrete, 140 yards of it, has been ordered.  Specialized concrete finishing equipment has been requested.  The driveway has been prepped for the beating that a dozen cement trucks will do to it.  Meals have been ordered.  Prayers have been made.  What else could possibly be done?

Friday Arrives
Friday morning arrives, a beautiful day.  Workers have been here since before 6:00am.  The first truck was scheduled to be on site at 7:00am.  When I arrive at about 7:30, there's one truck backed up to the building and another waiting its turn.


The concrete truck will empty its load into the hopper of a concrete pump, which pumps the concrete through the 4" pipe.  The driver's waiting for the word to start dumping his load.


Inside the building, the pipe turns into high pressure rubber hose, which snakes into the narthex and over to the far end of the sanctuary.  The hose is a collection of short sections which are coupled together with clamps.


Inside the sanctuary, I see a group of guys ready to go, but no concrete is being pumped.  Everybody is looking serious.  The volunteers stand ready, waiting for a command or opportunity to do something.  Equipment and tools sit idle.  The experts bustle back and forth along the hose.  I can sense a palpable level of tension in the air; something's wrong.  Loren Hillukka is conveniently standing nearby.  "Psst, what's the deal?"  I find out that the end of the hose is plugged and no concrete will flow through it.  When you have a carefully coordinated series of concrete trucks on the way, all with fresh concrete that is getting harder by the minute, this is Not A Good Thing. 


Finally, the hose is cleared and the concrete begins to flow.  I'm pretty sure I saw a few smiles at this point, but you can't see them in my pictures since everyone's attention is on appreciating the growing pile of fresh concrete in the corner.


Once the mud starts flowing, everyone goes to their assigned place.  The hose is very heavy and needs to be moved around often to evenly spread concrete over the floor.  As the man on the end directs the flow, the rest of the gang moves the hose around as needed.  They must be careful to not damage the radiant floor tubing stapled to the foam as the hose slides across.  As the concrete flows, pulses of high pressure from the pump cause the hose to move around somewhat.


Here, Daniel Hillukka demonstrates the technique.  He's pulling on a loop of rope around the hose near a coupling that joins two sections of hose together.  The coupling sits in a "turtle shell", which helps to keep it from ripping up the tubing and wire mesh.


An attempt to capture the whole sanctuary scene.


Once the mud starts flowing, it comes quickly.  In minutes, there's a good-sized section covering the northeast corner of the sanctuary.  The guys pour concrete across the front of the sanctuary, working their way toward the back.

A guy from the hired concrete company drives a laser guided power screed up, ready to start screeding when a large enough area is ready for it.


Time for screeding.  The four-wheeled machine has a giant screeding attachment on the front but yet is light enough that it can be driven over the tubing without damaging it.  The screeding attachment has two tall outriggers that detect the laser mounted on the wall at the back of the sanctuary.  Once the proper height it set, the power screed can accurately level the concrete throughout the whole building as it's poured.  This machine is a huge time saver and does a great job.


The way it works is the operator drives it into the concrete just poured, sets its screed at the right height according to the laser, and backs up.  As the machine backs up, it leaves a smooth surface behind.  Dale Muhonen keeps a close eye on the operator's progress.


After the power screed moves on, a finisher comes behind and makes the concrete surface even smoother.  After this, the concrete is left alone for a while to set up.  Once firm enough to walk on, the floor will be power troweled.  A walk-behind style power trowel is perched on top of the sump basket in the background.


As the pour progresses along the north wall of the sanctuary, someone realizes that if they don't cover the windows quickly, they're going to get covered with concrete splatter.  Here we see Brian Johnson hustling off to find some foam to provide protective cover for the windows.


Mark directs the hose while Dale and Aare look on.


Eventually, the first truck runs out of concrete.  A break in the action while the first truck leaves and the second truck pulls into position at the pump gives the men on the hose time for a breather and a chance to look around.


I had to leave to go to work at this point, but this action would repeat throughout the day, truck after truck.  The floor was looking good!


Monday, February 13, 2017

February 11 - Prepping the Floor

Aiming for the Big Pour -
It seems like once The Blue Duct was safely interred and the dirt leveled, the next step should be to pour the concrete. But not so. First  the dirt needs poly covering followed by two inch think foam pads.


Then some nuisance things like locating outlets that will be in the floor must be attended. Sam and TIm decide where the junction box needs to reside. Once the location is finalized, it must be fed by conduits which are cut into the foam pads.


Then orange heat tubing is stapled to the foam pads. We need to keep The Blue Duct comfortable in the winter. Brian lays out the tubing while Pete secures the tubing to the foam with staples. Adrian follows behind with more staples to make sure the orange tubing can not escape or change its location.
Pete and Brian finish locking the tubing sections into the manifold. The larger white tubes in front are the hot water supply tubes that will carry hot water from and back to the boiler.


Then with the sanctuary decorated with festive orange overlaying a baby blue foam pads, I am thinking that it now must be time to bring on the concrete. Again, not so.


Remember the size large concrete footings keeping the laminated posts up and the roof down? They need to be covered with a woven rebar mat that extends well beyond the footing perimeter. The poured floor will then add still more weight to the roof-holding-down capability of the footings.


Now we are nearly ready to add the concrete. Just one more detail. We need to add some wire fencing to hold the concrete together. Dan and Kevin roll out the fencing.


The picture below shows Pete getting into the act also.When their work was done, they had made a mesh of the sanctuary.


Randy takes care of one final detail in prepping for the concrete pour which is scheduled for Friday. A form with a foam barrier is set in the big doorway. Now, if the weather is favorable, the special edition Friday crew will work with the concrete contractor to pour the floor. One more significant milestone in the project.


Milestone on the Outside -
With all the emphasis on the floor prep inside, the mild winter weather allowed for significant progress on the outside of the building. A milestone of sorts was achieved Saturday when the first piece of actually, factually siding was nailed in place. Tom and Ben are shown building the outside corner for the siding. Once the corner is in place, the first piece of lap siding is hung. There are about 8,250 square feet of wall to be covered. Each board of lap siding will cover about 9.3 square feet. So, one board down and 884 to go. The purists will complain that not all of the wall surface will be covered with lap siding since the front and back bump-outs will have sheet goods applied, but this is a detail. I am sticking with 884 to go.


Bob, on an earlier, colder day, was hanging trim on the windows. By Saturday I think all the window trim was in place.


 Bob had his boys secured in the lift bucket. I thought at first that he was using the bucket to keep the boys under control, but it turns out that they were helping him measure and record measurements for trimming the various openings for vents and the like.


Sunday, February 5, 2017

February 4 - Covering The Blue Duct

A Time to Plan -
Somehow this week's picture looks a lot like last week's picture - the planning commission still in session. Well, not literally still, but again.
Planning time was available since The Blue Duct did not  hold his pressure for the first test.

Not wanting to waste the time while TBD received further instruction, the workers planned, and in anticipation of ultimate success of the project, began reserving seats in the sanctuary.


After a good deal of intense instruction including more goo, more tape and some new bands, TBD successfully completed his five minute pressure filled examination and was then eligible to receive a full covering of dirt. So Saturday was used to backfill the trenches and bury The Blue Duct.


Many Workers and an Excavator - 
Busy workers - Greg on the machine, Spencer and Lars partially hidden beyond the machine, Eric operating the compactor, Tall Sam spreading dirt, Brent standing at attention and Mark taking pictures.

As the excavator moved the dirt from the pile, shovel and rake operators did the fine tuning. Loren, on the far right, is checking the floor height relative to its final grade requirement. Bob worked inside for a time then went outside to trim the windows. He said he did not think he could make the grade.

Some thoughtful reflection is required to make sure the dirt is properly located. Spencer, Lars, Brian and Tall Sam are thoughtfully reflecting.


Brian and Sam continue reflecting. Some decisions just cannot be rushed.


The civil engineers used available lumber to build size large beams so the excavator could be driven over the partially buried center aisle ducts. Brian and Sam pile dirt to stabilize the beams on the far side while Lars and Mark do the same on the near side. Greg checks the alignment with the machine treads. In the background a nice level, trench-less, hill-less left side floor of the sanctuary.


 Once across the bridge, the hill on the other side is being rearranged to fill the center trench.


Another New Thing - 


I love photography and all my experience is with still photos. I have not ventured into this new fangled video stuff even though my camera does record video. Some scenes, however, seem to demand recording video instead of still.

--- UPDATE ---
Okay, I tried but admit defeat. The wonders of technology are beyond my comprehension.
I edit this blog on a Windows machine and the video works. On my iPad, no video and only a blank spot is displayed. My Android device tells me it is missing a plugin. So, I added the still photo of Short Sam using the pipe heater since I do not know how to make the video display in these varied environments.


Okay, Sam (short Sam as opposed to Tall Sam), what are you doing? "Making spaghetti," came the reply.


The green box is a heater through which the rigid plastic is placed. The operator spins the pipe and moves it forward and back until the desired length of the pipe is warm enough to bend. Then, with the help of an assistant, the pipe is bent to the desired curvature. When it cools, the pipe again becomes rigid. Kinda like makin' spaghetti, Sam, but not quite.


Using the excavator to make a trench, the pipe is run up to the front of the sanctuary. This is the conduit through which the sound system cabling will run.


Sam and Loren bend and coax the pipes into the necessary shape to fit into the trench.


Using the widely accepted free pour application technique, glue is slopped on to the pipe and connecting pieces added. The ninety degree elbow pieces being glued on are stock parts and do not have to be custom formed as the long non-standard bent pieces do.


I finally get to see some honest to goodness duct tape in use. Alas, it is only to temporarily cap the ends of the pipes until the concrete floor is poured.


Leveling the Floor - 
Our old friend the laser beam is again employed to help level the dirt floor. A shallow grave is dug and the laser rests therein, with the beam shining at the proper level. Any dirt that gets hit by the laser must be removed.

Rake and shovel operators then attack the red-illuminated material with vigor, driving it just below the beam. When only a tiny ridge shows, the operator will stomp it down with his foot. Watching this whole process is like watching the videos of cats chasing the red dot from a laser pointer.


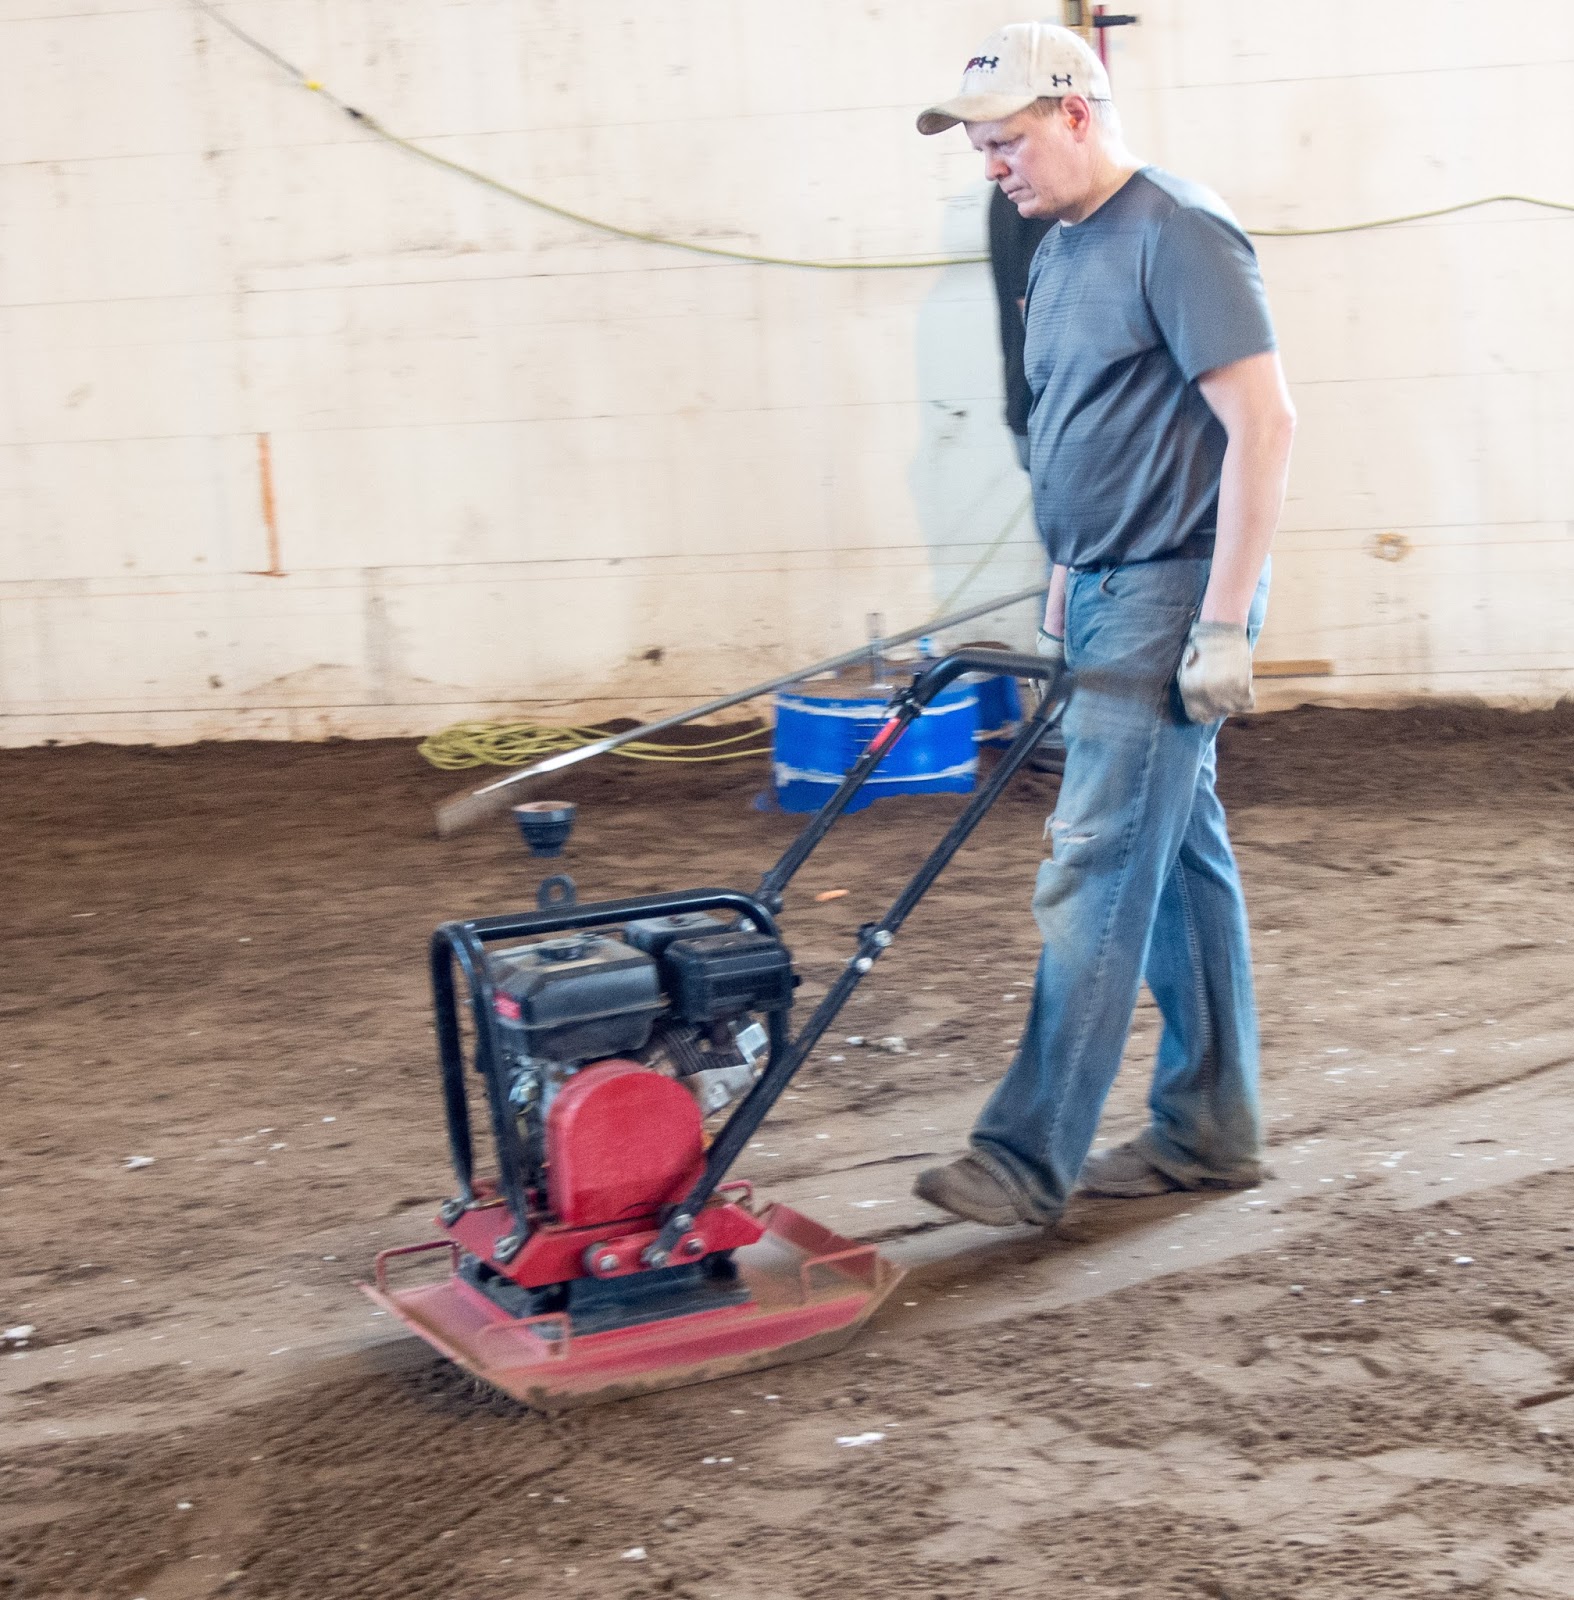
The compactor gets into the action, fine tuning the dirt surface. Eric noted that when the dirt surface is very near level, the compactor will run itself, without human intervention. Look, ma, no hands!


One Final Note of Interest - 
When I arrived Saturday morning, Troy was busy with the welder and the portable grinder. What are you up to, Troy?
"Just repairing the door for the mobile forklift."
It seems that the door can swing all the way around to the front and tangle with the wheel. Should that happen when the machine is in motion, the door does not perform well.

When your door falls off it is nice to have someone who knows how to put it back on.